Auction Administration FAQ
1. User Permission 2. Fee Structures 3. Sale Management 4. Bank and Bank Branch
User Permissions
User Permissions - control security and access to the AMS system
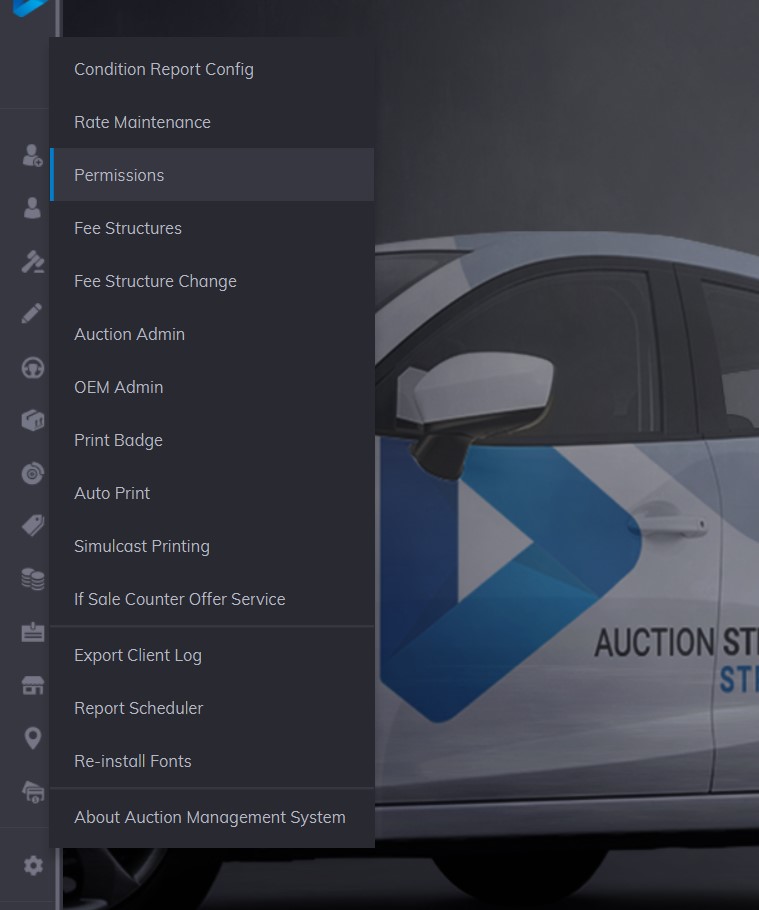
You can access the Permissions app by going to the Main Menu>>Maintenance>>Permissions
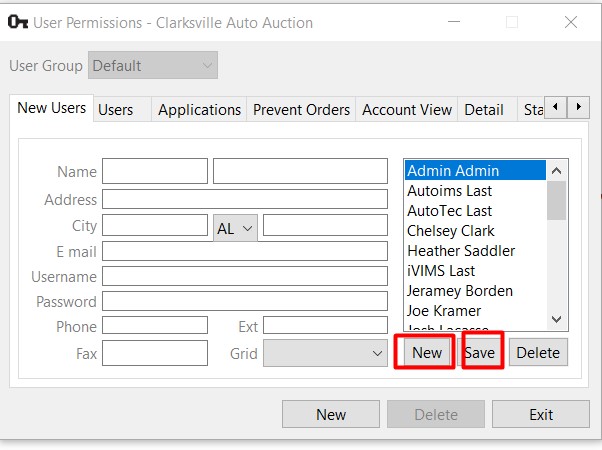
Add New Users
Basic contact information must be captured when adding new users. These required fields are:
- First Name
- Last Name
- Telephone
- User ID
- Password
By clicking the small 'new' button (located under the list of users) the form will clear itself. Once the fields are completed the user may click the 'save' button and the user will be added although the user has yet to be assigned to a Group.
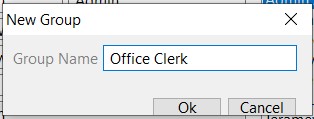
New Group - Add New Group
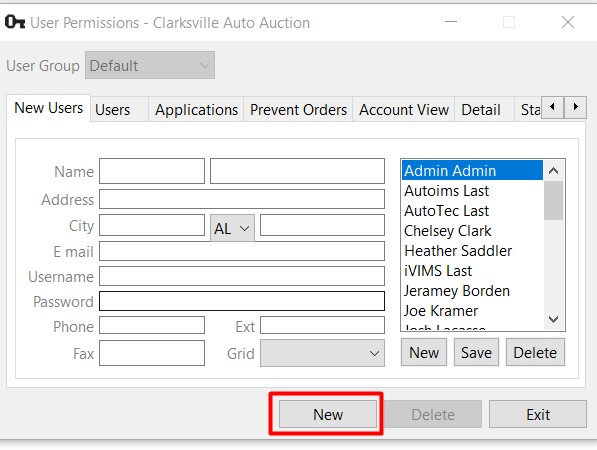
A user must be part of a group. A new group is created by clicking on the larger 'new' button and then naming the Group. A dialog box will appear asking for the name of the new group. In this case, the name of the new group is 'Office Clerk'. Click OK to add the group.
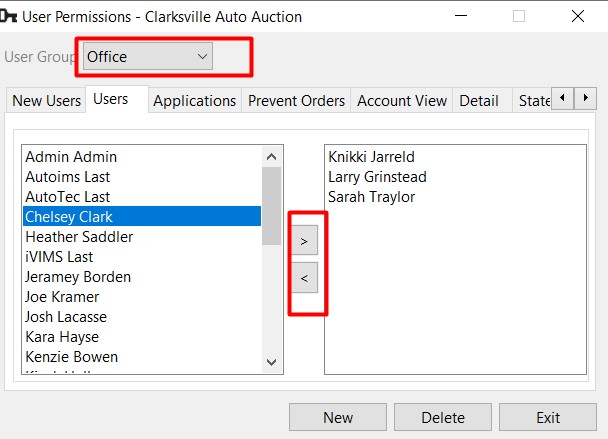
User Permissions - Assign User to Group
Click on the 'User' tab and select the Group from the combo box drop-down menu then assign users to the selected Group. The ' > ' button will move the selected user on the left pane to the right pane. All users in the right pane are a part of the group that is displayed in the combo box, in this case, the 'Office Group'.
User Permissions - Assigning Applications to a Group
By selecting the Group and clicking the 'Application' tab, the user may make assignments of Applications found on the Main Menu to a User Group. The ' > ' button will move applications from the left pane to the right pane. All applications in the right pane are assigned to the selected user group, in this case, the 'Office Group'.
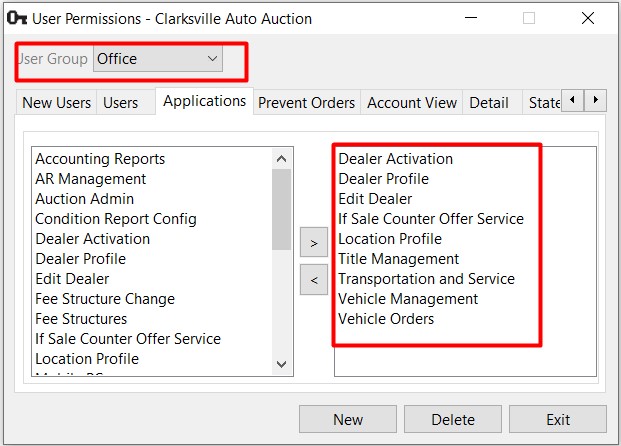
Applications or Features that may be assigned to a user group include:
- Accounting Reports
- AR Management
- Auction Admin
- Condition Report Config
- Dealer Activation
- Dealer Profile
- Edit Dealer
- Fee Structure Change
- Fee Structures
- Location Profile
- Parts Inventory
- Payments and Deposits
- Rate Maintenance
- Reminders
- Sale Profile
- Seller Check
- Title Management
- Transportation and Service
- User Permissions
- Vehicle Block
- Vehicle Management
- Vehicle Orders
- Vendor Profile
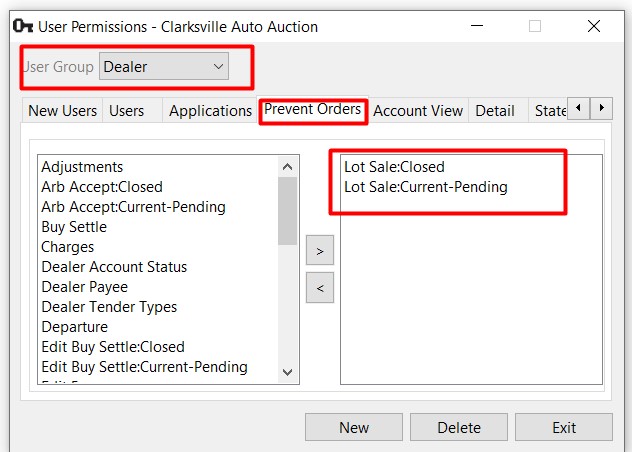
User Permissions - Assigning Prevent Orders to a Group
Users are able to execute any Vehicle Order unless their User ID is part of a User Group that contains 'Prevent Orders'. This will prevent the following orders for Pending, Current or Closed Sales:
Fee Structures
Fee Structure - used to create and manage the Fees for:
- Buyer Fees
- Seller Fees
- Draft Fees
- Title Fees
- Pick Up Fees
- Delivery Fees
Once defined these fee structures are associated with the Representative in 'Fees'. This allows a particular Buyer to customize Fees for the above categories. It is important to note that each Fee is applied according to Vehicle Type.
- Automobile
- RV
- Marine
- Powersports
- Salvage
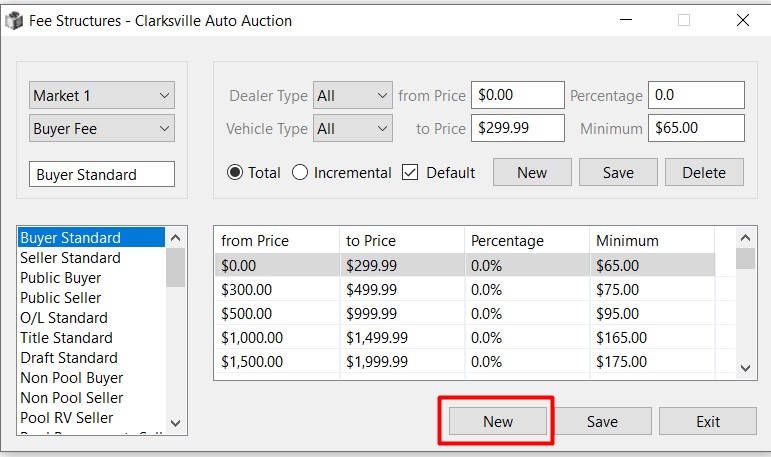
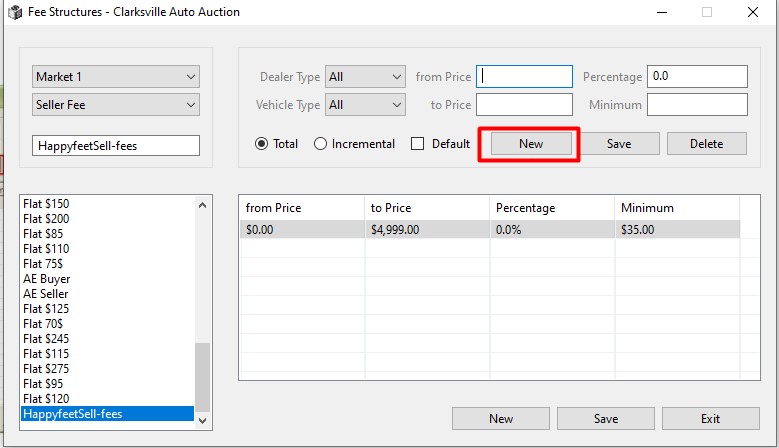
Create a new Fee Structure
Click the 'New' button to create a Fee Structure.
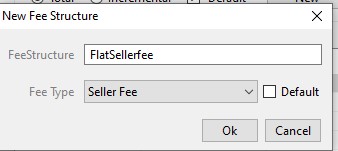
Add the Fee Structure Name and select the Fee Type, then click 'OK' to create and save it.
Click 'New' in the summary section of the form, then build each tier using the following attributes:
- from Price
- to Price
- Percentage
- Minimum
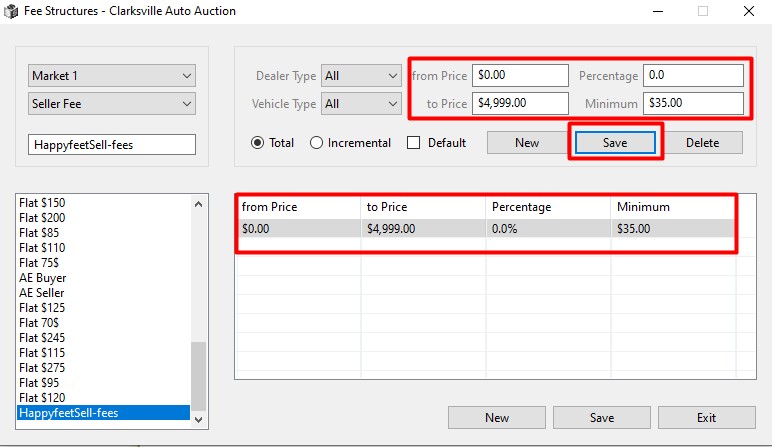
Click 'Save' to add the attributes from above to the 1st tier.
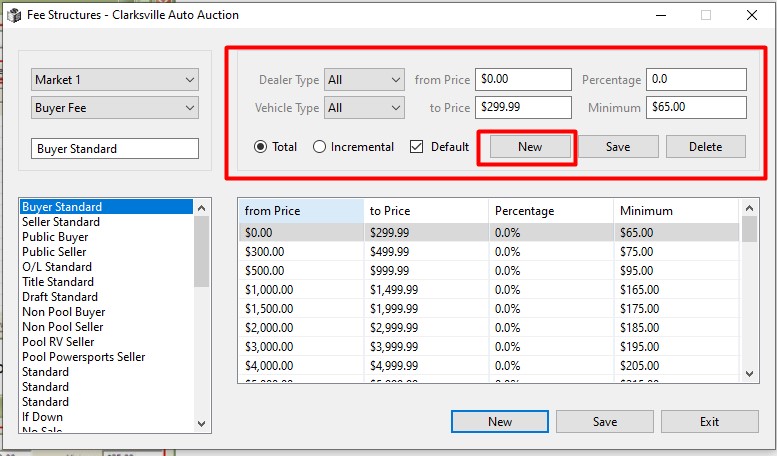
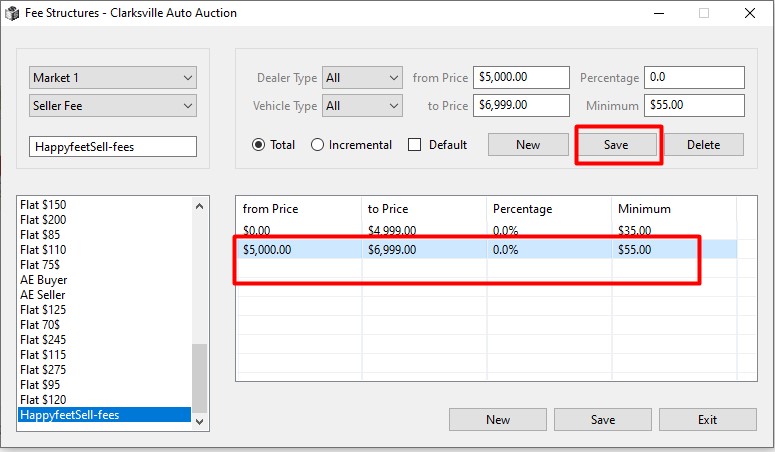
Next Tier
Click 'New' to build another tier within the fee structure.
Click 'Save' to add the attributes from above to the 2nd tier and so on.
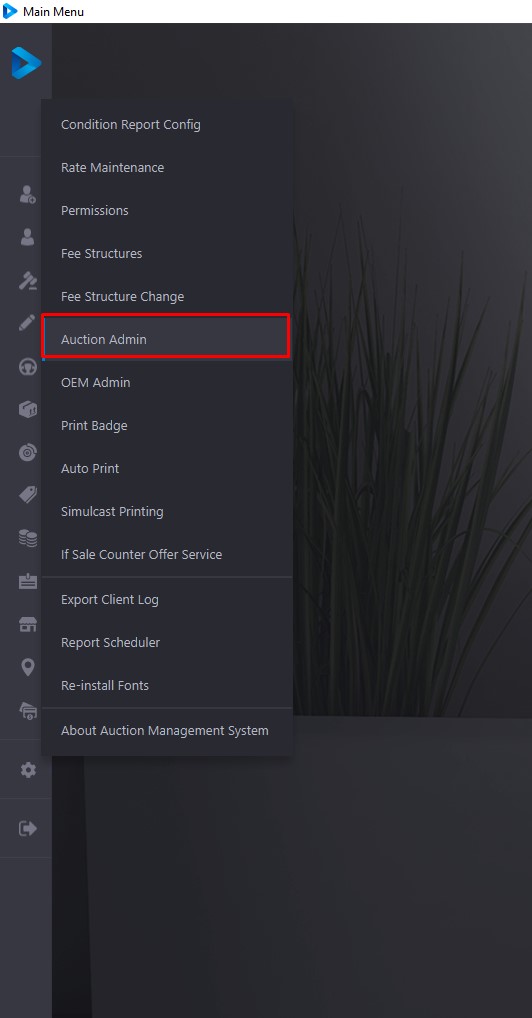
Sale Managment
Sale Management
A 'Created' sale is a Sale with a Template and dates, but since it is not 'Pending' no Vehicles may be Checked In to these Sales.
If there is a 'Created' Sale it may be placed in pending status by selecting the Sale date and clicking 'Change to Pending'. This will make the Sale available for Vehicle registration and Rep (buyer) Check-In.
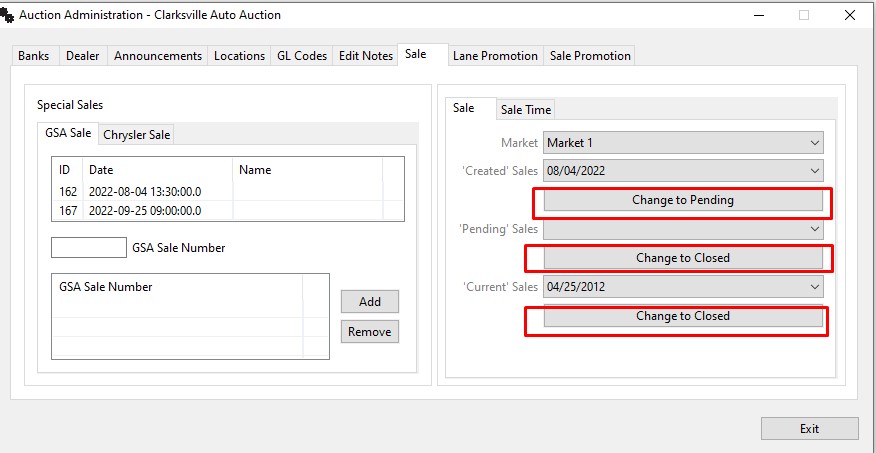
Less often, a Sale may be postponed or canceled. In this case; Use the 'Change to Closed' button to move Pending Sales to Closed status.
After each Sale, you will want to finalize the Sale after each vehicle in the Sale becomes 'In Active'. Select the Sale date for the Current Sale and click 'Change to Closed'.
Note: Unless all units are 'In Active', it is impossible to 'Close a Sale'.
Bank and Bank Branch
Bank and Bank Branch - is stored as part of the Maintenance Menu under Auction Administration. 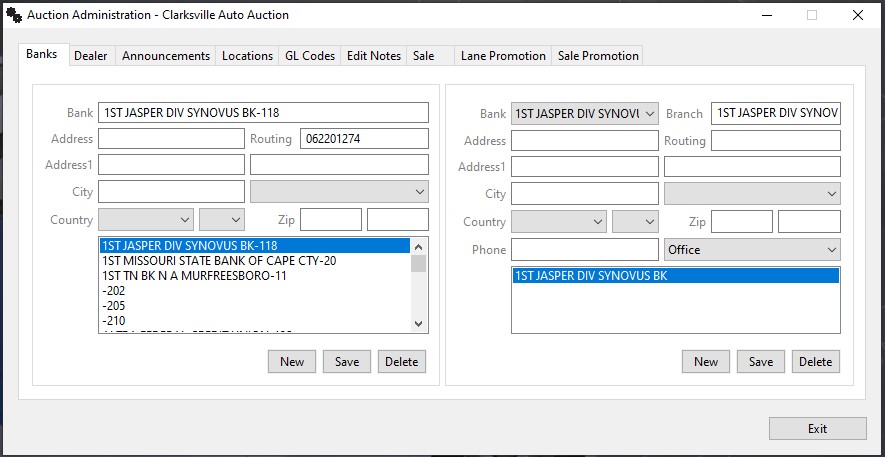
Specific account numbers for a particular branch are part of the Dealer Profile's Deposits tab. Banks may possess multiple Branches (auction administration) and Branches may possess multiple Accounts (dealer profile - deposit tab).
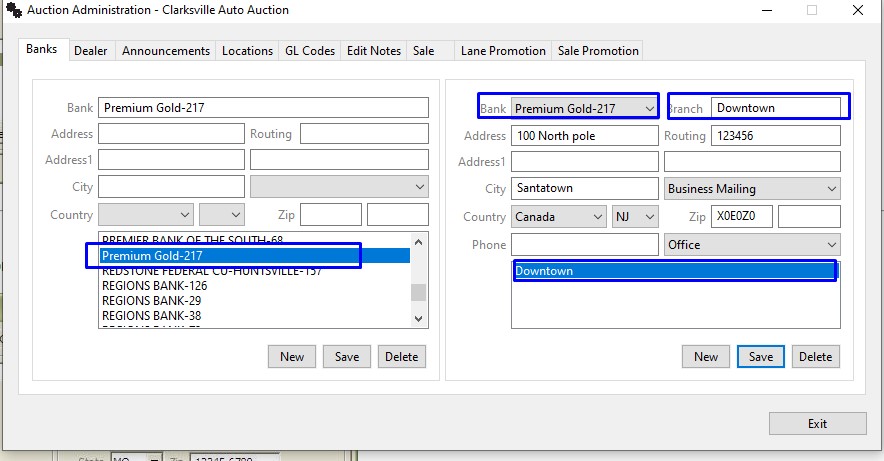
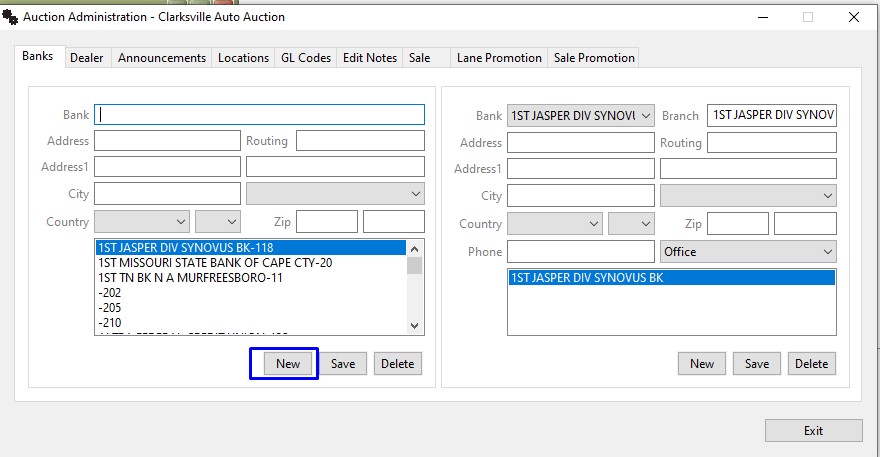
Creating New Bank
Step 1 . Clicking the 'New' button clears the Bank Name field. Type in the Name of the Bank.
Step 2. Type the Name of the Bank and click 'Save'. The name of the bank will be added to the list box below.
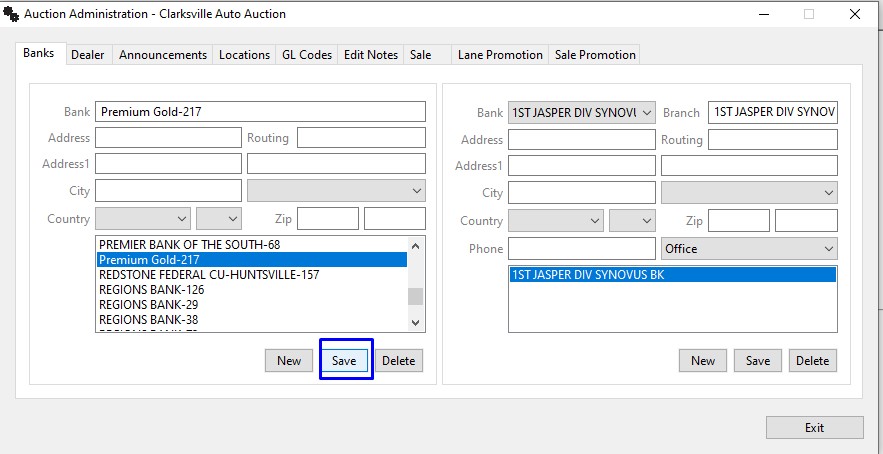
Now that we have our Bank created and added next step is to add the branch for the created Bank.
Adding Branch to New Bank
Step 1. Select the newly added bank from the list in the top right (bank branch) of the form and then click new.
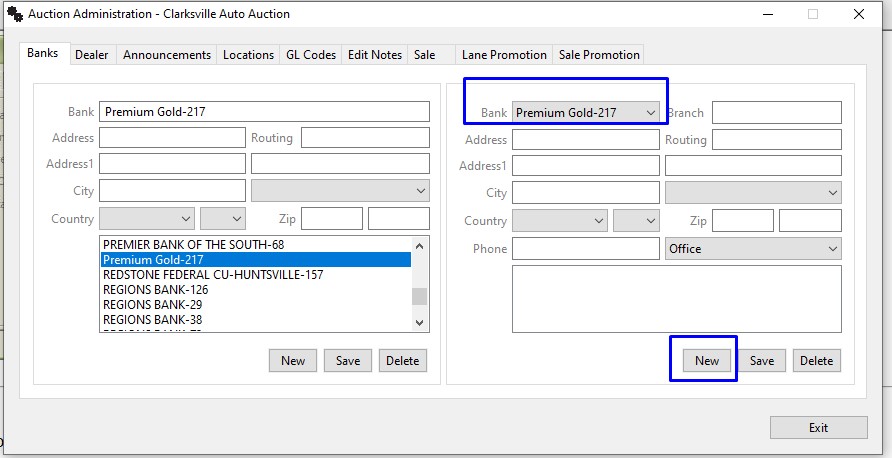
Step 2. Complete the form and click the 'Save' button to add the Branch information to the Bank information.
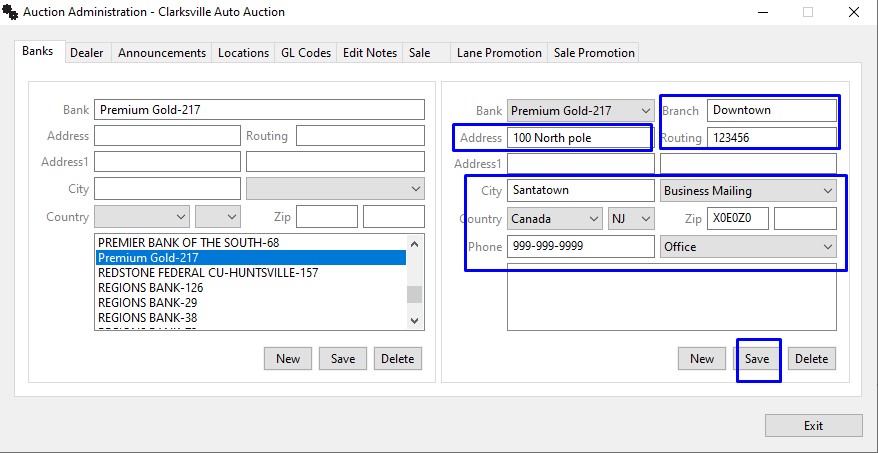
Step 3. The New Bank and New Branch information has been added and a Bank Account using the new Bank and Branch may be added to the Dealer's account.